HF Remote Access
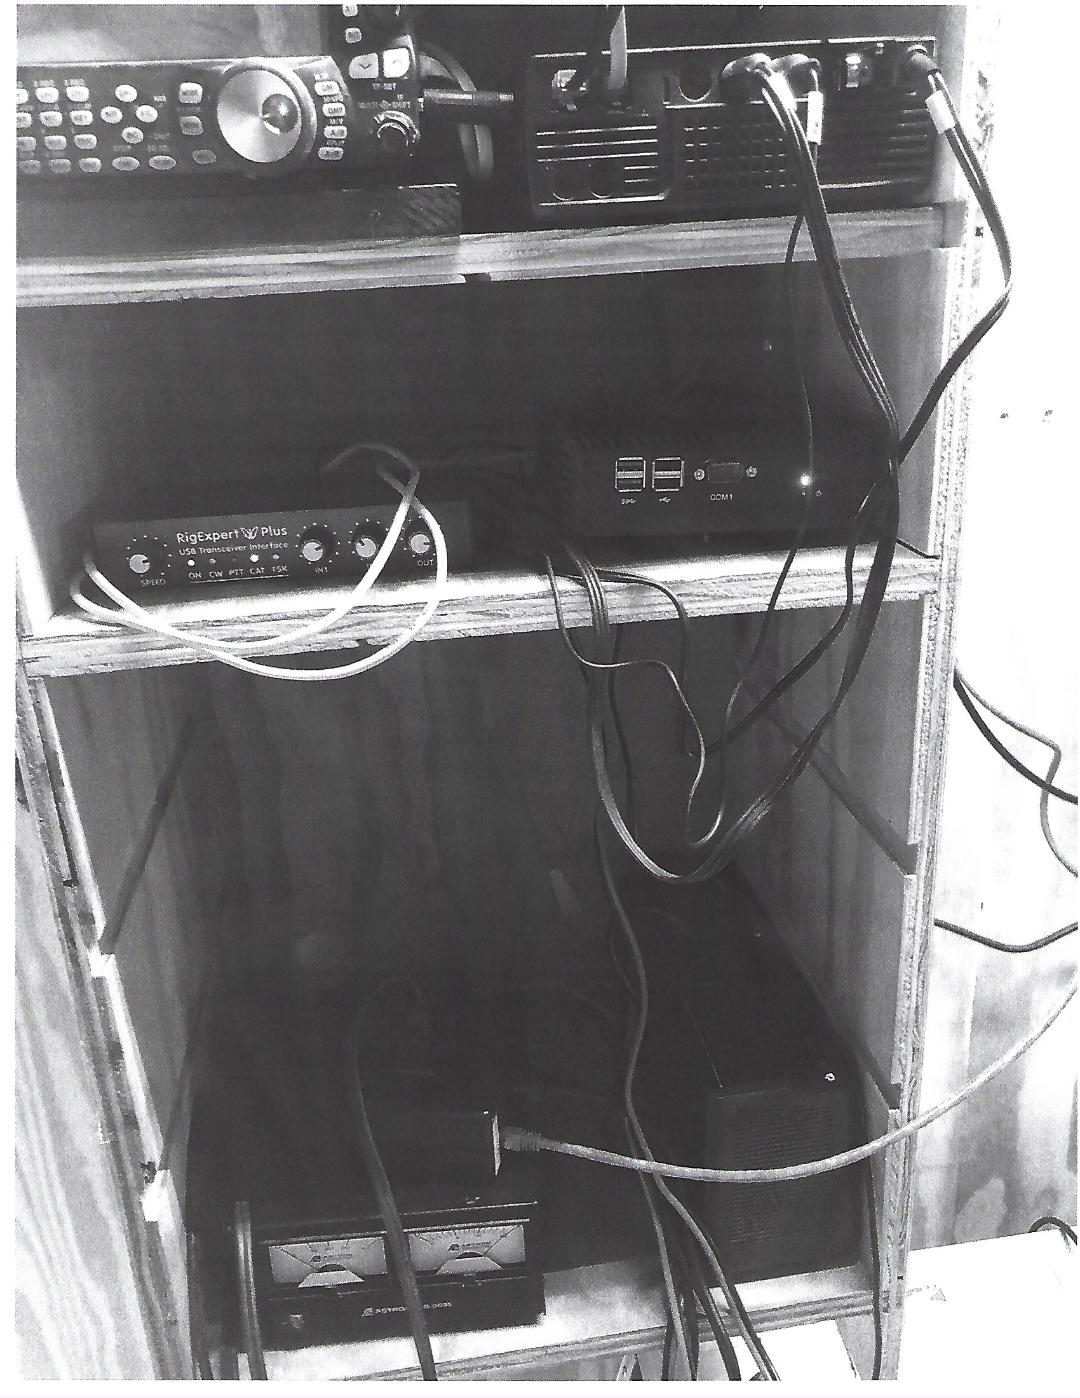
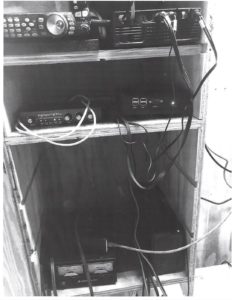
The club’s remote Kenwood TS-480
is setup in Naples, near the airport
using a dipole for 40m (Antenna 1)
and a dipole for 10m (Antenna 2).
You must be an active member to use the club’s remote access station.
CLICK HERE to check the active member list.
Getting Started
The Remote Rig is accessed using the RCForb Client from RemoteHam.com, their Windows PC client is free. The Android device client is available from Google Play for $9.99.
There are no native clients available for Mac or iOS! Mac users must use a Windows Virtual Machine software like Parallels or VMware. There is another way to get the Windows client running on a Mac, CLICK HERE to read the document.
When prompted for a password
use af!zR.x6
Step 1: Go to http://remotehams.com and do their steps 1 through 3.
You must use your call sign as your user ID, otherwise we cannot approve you!
Make sure that you install the newest version of 0.9 at the very top of the RemoteHams download page!
Make sure you always update the software when prompted.
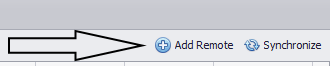
Step 2: Once you have the RCForb client installed and you have logged on after RCForb’s approval, go to the top right corner and click on the “+” button next to “add remote”.
Fill the box out EXACTLY as follows and click on OK:
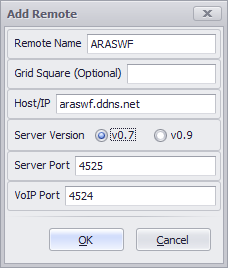
Step 3: You will see ARASWF on the top of the screen, double-click on it and make the first connection.
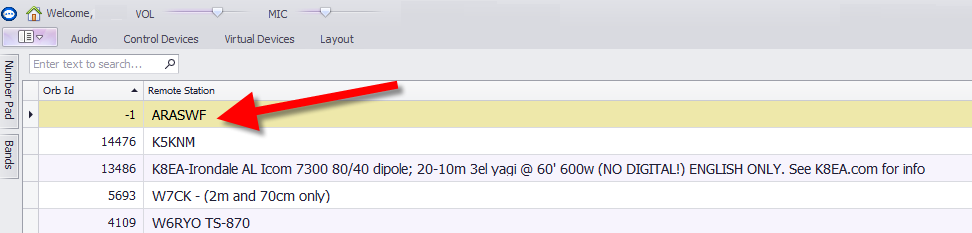
It will say that you must “Request Club Permission” to receive access.

After clicking on “Request Club Permission”, you should get the following:
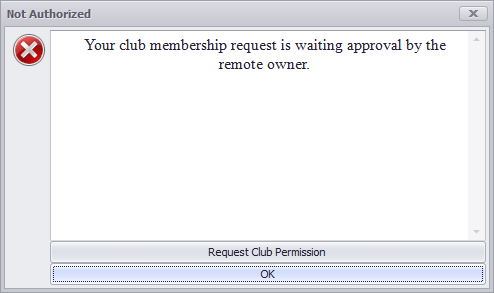
Step 4: You MUST fill in the following form and click the Submit button.
You MUST see the following message, once you click on the Submit button, to make sure that it has been submitted:
“Thanks for contacting us! We will be in touch with you shortly.”
Once approved, you will receive a reply to your email address.
Step 5: Start the RCForb application using the shortcut on your desktop or from your windows program list.
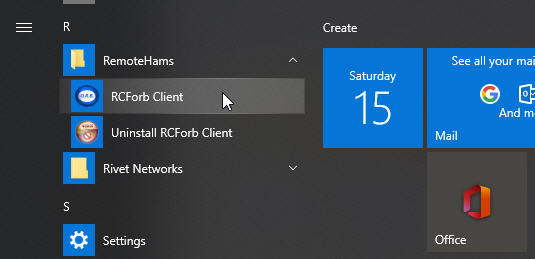
Double-click on ARASWF to get started.
Using the Station:
– The only thing you need to use the station is your computer’s audio. We highly recommend that you use a USB headset, such as those that can be used for Skype. You will find good ones starting at around $20 on Amazon and eBay.
– Please feel free to use the station any time you wish, there are no restrictions. If someone else wants to use it while you are QRV, then there is a procedure below on passing on to someone else
– Always use your own call sign!
-
Note that your station location is ALWAYS in Naples, Florida, no matter where in the world you are while using the station.
-
Canadians must use their VE call sign followed by “/W4”.
-
Signing “/4” is optional and no longer required for American users.
– Always change the controls back to the default values for the next user. Some users may be confused by your settings for RF Gain, sideband, DSP, NR, ATT, etc. You must manually change the sideband as necessary when you change bands (80/40M LSB, 20/15/10 USB), since this is not automatic!
– If you require help or have a question, just e-mail: ARASWF.RA@GMAIL.COM and provide a phone number if that would be easier for you. Only use this e-mail address for questions and support!
Operating Tips:
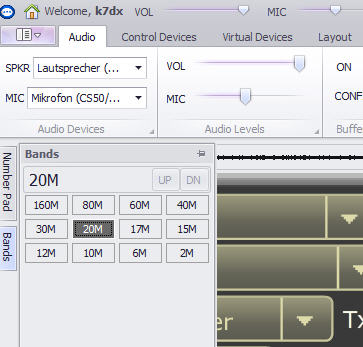
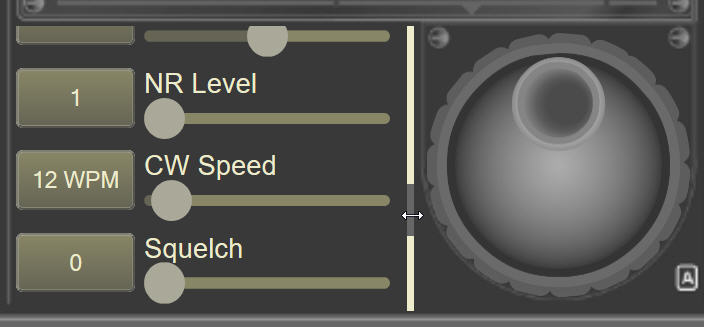
– There is an occasional glitch whereby the audio goes completely quiet. This is caused by the squelch being changed to blank all audio. To fix it, go to the Squelch control at the bottom of the slider controls and move it all the way to the left (off).
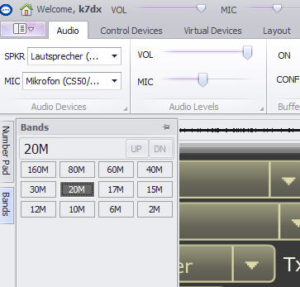
– You may need to select your headset mic and speaker first under the audio menu on the top left.
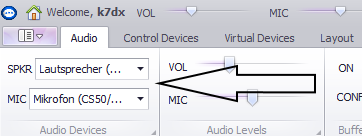
– Use the slider for mic and audio all the way on the very top left. Note that the Mic and AF gain controls were removed, so use VOL instead as AF Gain.

– The TX button is used as the PTT to transmit SSB, but you can use the space bar instead after clicking on TX once (note that the space bar remembers the last button clicked and not specifically TX).
– If you change any of the Remote’s values, please return them to the default values before you disconnect, CLICK HERE to see the default values.
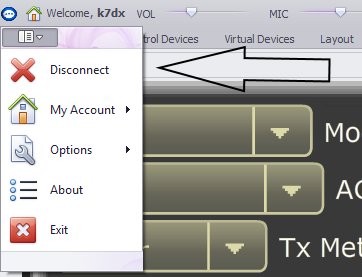
– Disconnect using the drop down button on the far left of the menus (left of audio).
– When someone is using the station, you will see their call sign listed as the Control OP and your controls will be blocked. They will be alerted that you are now online.
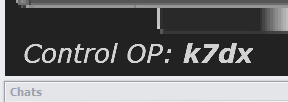
– To gain access, you can wait until they disconnect, or you can click on a button to request access and they can pass access over to you when ready. Alternatively, you can use the built-in chat function to ask when they will be finished or ask other questions.
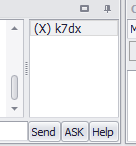
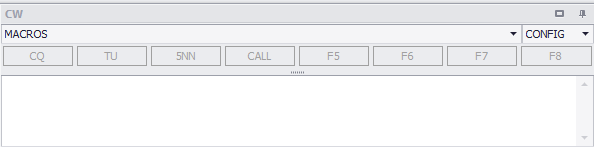
– To send CW, use the field on the bottom right to enter your text and send when using the space bar. Use the CONFIG menu there to set it up to your preferences. Note that these preferences, memories and your text will only be seen by you.
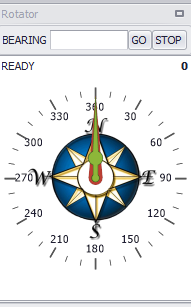
– To turn the yagi, use the control on the right side of the client to click on a direction, or enter the bearing you want to turn to and press the GO button.
– To download the manual for the TS-480, CLICK HERE to read the operating parts to familiarize yourself with the rig.
– To learn how to better operate a receiver by adjusting the RF Gain and DSP limits, CLICK HERE to read a good guide.
– Note that several controls have been removed or disabled from the remote interface. This was done to simplify operation and to try to prevent someone from messing settings up for the next person. Also note that slider controls take effect once you let go of the slider and not as you move it.
– There is no band switch on the main control panel. Instead, you will find the Band tab along with a direct frequency entry pad (Number Pad) on the left panel. Note that the sideband settings are not changed automatically, so you will need to manually change the sideband as necessary (80/40M LSB, 20/15/10 USB).
– You can turn VOX on using the audio menu and using the switch found there on the far right. However, note that the latency may be too high to make it useful and you would have to use PTT in that case. First try turning the slider for VOX Delay all the way down to 300ms and see if that meets your needs.
– To use your logging program with CAT, it is a bit tricky, just do the following:
1. Under the menu “Virtual Devices”, go to “Virtual K3” and set a COM port and turn it on.
2. Connect to the ARASWF remote (it only works if connected first!).
3. Then start your logging software and set it to use a K3 (not a TS-480!) and the COM port that you selected (baud rate 38400).
– To use a digital mode such as FT8 or FSK, CLICK HERE for details. This method should allow you to get your digital program such as WJST or MMTTY working with the remote station. For instructions on using any of these programs, please refer to their instructions and tutorials.
– We can add enhancements (e.g. paddle support, HRD client, etc.) in the future if there is a need and they are requested.